 |
1.
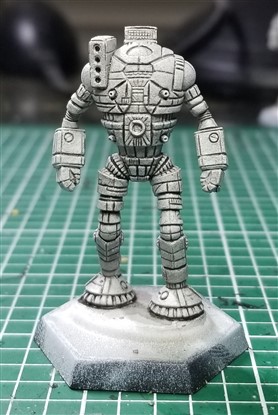
The miniature was primed using an airbrush with Vallejo gray primer. It was then washed using Games Workshop Nuln Oil Gloss and left to dry before proceeding.
|
 |
2.
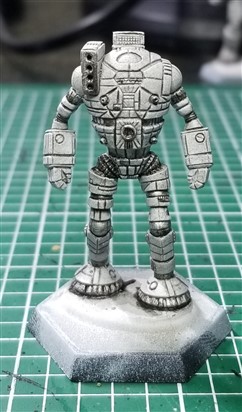
Gunmetal was applied to all metallic parts of the miniature. Lower areas were darkened by blending in black using the "two brush blending" technique, also known as "spit blending". For more details on this technique, I encourage you to look it up online.
|
 |
3.
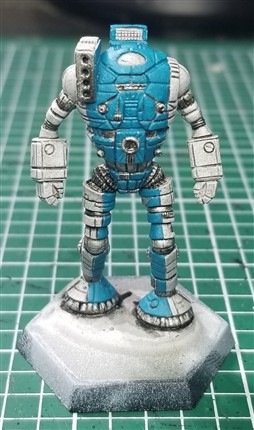
I applied the main color straightforwardly, ensure to paint lightly to skip over crevices. This will enhance contrast in the final miniature as the black wash will be more prominent.
|
 |
4.
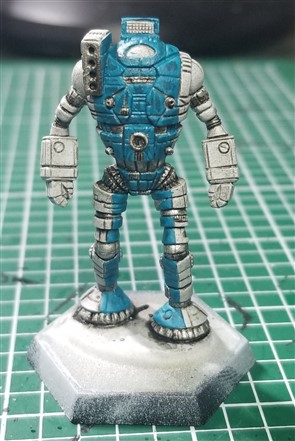
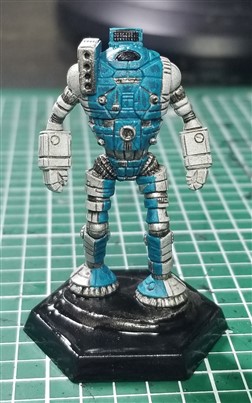
I created darker spots in the middle of every panel, trying to make the spots conform to the panel shape while leaving the edges open. You should see a darker tone of blue in each panel. This creates an effect similar to individually edging each panel. This method is faster and easier, and the results are good. Essentially, it tricks the eye into thinking every panel was individually edged.
|
 |
5.
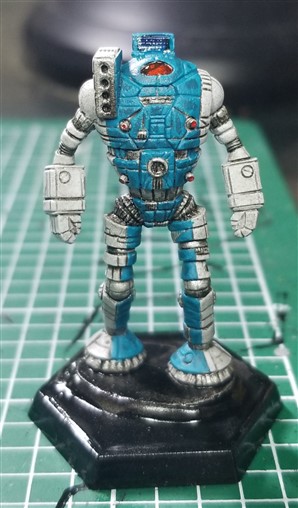
I painted the areas to be jewleed, and the base, black. Even though the cockpit glass, lasers, and the entire base won't be entirely black, i found it necessary to make them black in this step. This is because when I painted the next phases, I did not paint these areas all the way to the edge. This left the edges black. Like with the wash, this helps create contrast and a separating border.
|
 |
6.
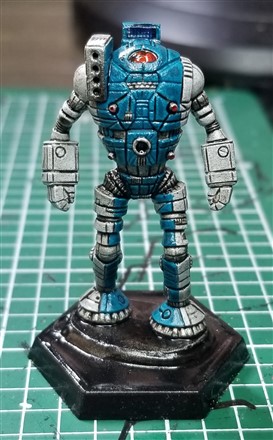
Here, I jeweled the cockpit and the weapons. Additionally, I started jeweling the light or sensor on the Ostroc's head. I won't cover jeweling in this how-to because I didn't take pictures of that phase at the time. Please research it from camospecs.com or another source.
|
 |
7.
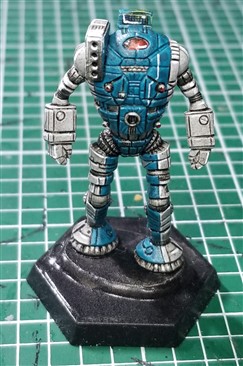
Next, I cleaned up the miniature as needed. What I mean by this is, if i accidently got paint somehwere where I did not want it. Next, I gave it another wash using Nuln Oil Gloss. This was the final wash, and all details after this required careful attention.
|
 |
8.
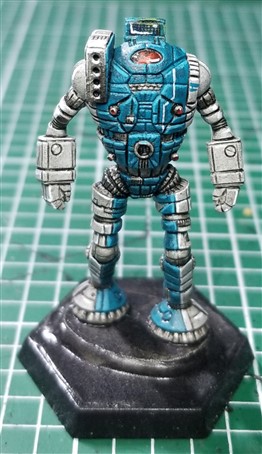
Using white, I added shines to areas on the cockpit and the weapons. I also added a white racing stripe on the blue torso.
|
 |
9.
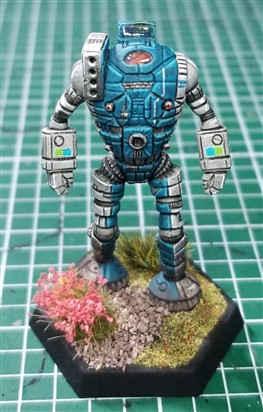
I used a lighter blue to do actual panel highlights on the top of most blue panels. In hindsight, I should have done the same for the white areas. I also added some small blue racing stripes on the white area.
|
 |
10.
In this final step, I added terrain to the base. It is here where i also added the decals. Some people have really liked my bases. I don't have a "How-To" yet, but I plan to create one in the future. After adding the terrain, I sealed the miniature using Krylon Matte Clearcoat.
|

